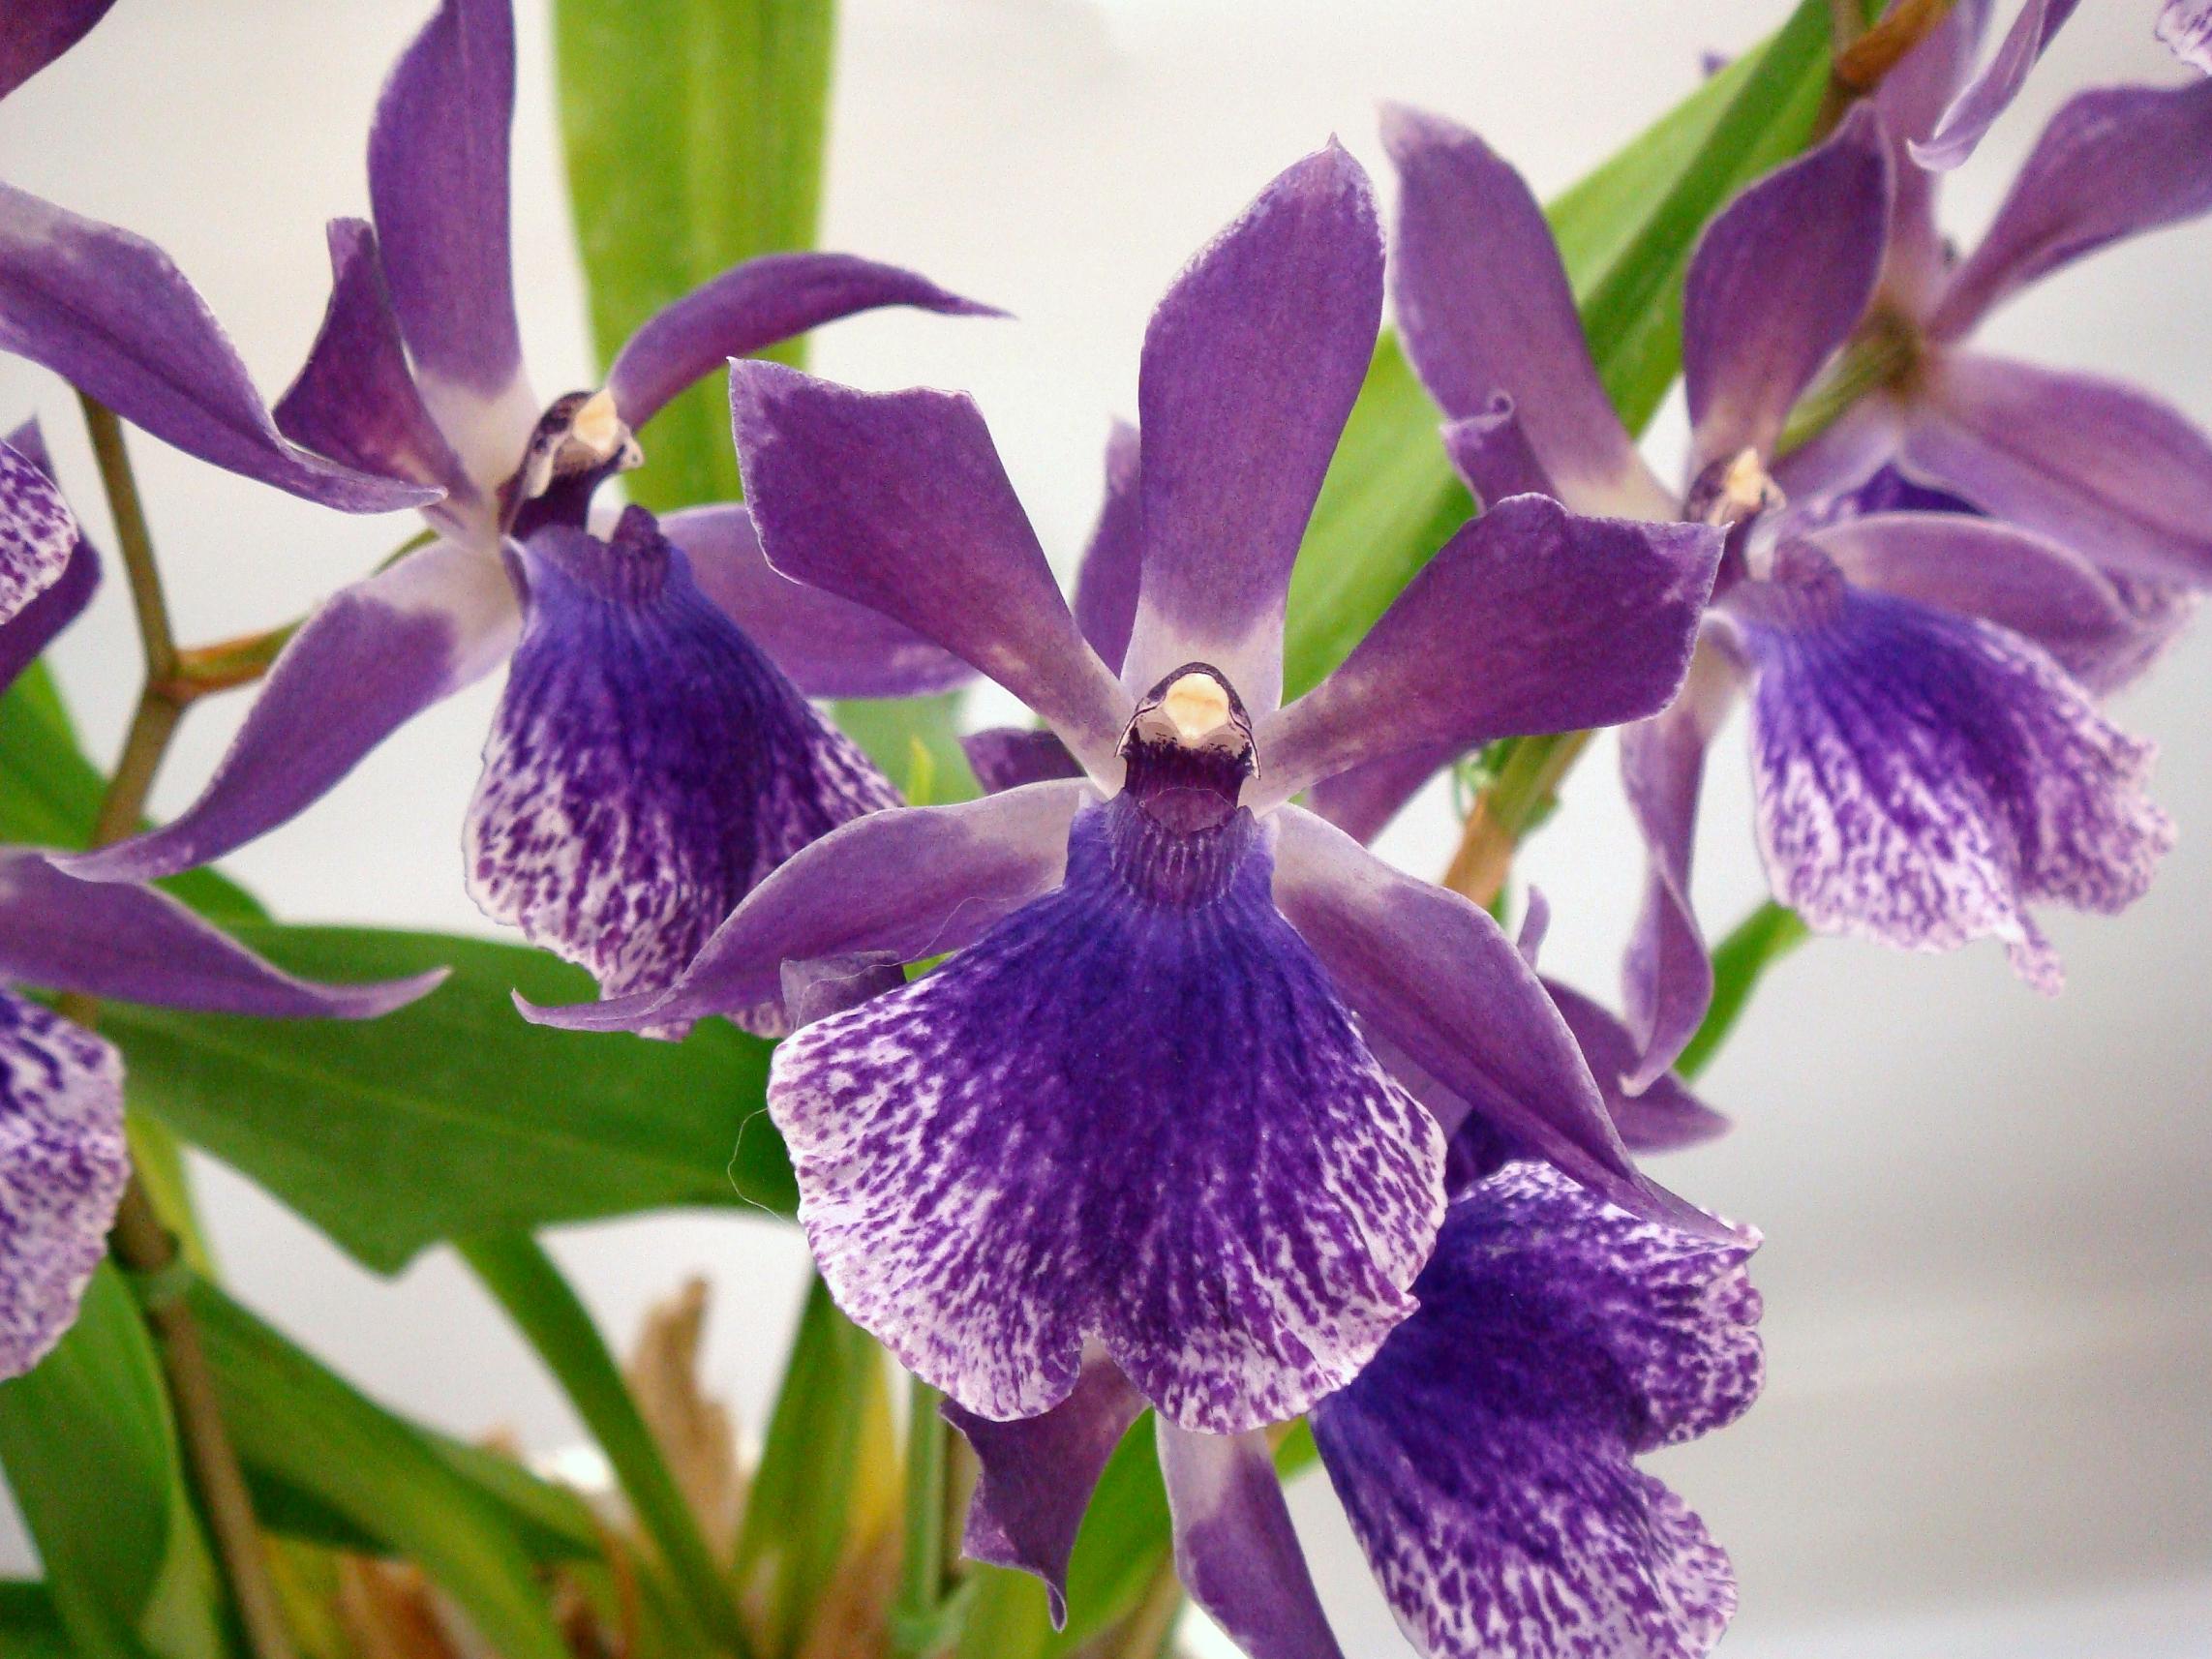
Sunday, August 26, 2012

Re-potting my orchids

I know it has been a few weeks. I apologize. Life just got busy. But, to pick up where I left off...

Re-potting Orchids

Since my last post I acquired yet ANOTHER phalaenopsis orchid. I do not know WHAT the bloom looks like as it was already mostly dormant. But you tell me....How could I have passed up this deal??


The pots I like to use are
glazed both on the inside
and outside.
Whenever I buy a new orchid from the store, no matter if it it in bloom, or not, I re-pot them. You never know how the store took care of the plants when they had them. Also, I do NOT like the pots they come in...They are all plastic-which I've read works fine, but I have a personal preference on the pots I use & they have not failed me yet.

So I prepare to re-pot my orchid-I recommend a nice clean spot on your counter...I occasionally put down a towel too, my bag of Orchid potting mix. A clean sink, trash can nearby, and this is VERY important...CLEAN scissors. As I trim the roots to the plant, clean scissors are a MUST. You do not want to get any contaminants into the root system, as these are your plants lifeline. And I try to only trim off dead or decaying roots, as if there are injured roots, the plant will try to concentrate on them instead of the rest of the plant. Remember:

Healthy roots = healthy plants

I actually run my scissors through the dishwasher on a regular basis.

Before re-potting in the liner pot
Now, I begin by removing the plant from its pot that it came in and dispose of the dirt.  Notice in the picture how bound up the roots are? And in this particular case, there was standing water in the pot. This is a BAD thing. I've read plenty about caring for my orchids, and I know that they like well drained soil. Now-I use pots that do NOT have drain holes, so I am very careful not to water too often or too much. Don't worry-I an not a perfect person-I have gone back the next day to check my plants for any standing water in the base of the pot & occasionally, I have had to turn it over & drain it.


Notice the black shriveled roots?
These are not healthy roots.
After I gently remove the dirt from the roots, I inspect them for any rotting roots. I tend to run the cold water slowly in my sink & gently trim away any roots that look unhealthy. This particular plant, had quite a few that I trimmed under the running water until I only had healthy roots remaining. When I first got my orchids, I had read something about trimming any roots that were longer than 6-8" long, and occasionally I still do that, but apparently that is not a common practice, because as I continue to read about orchid care, I do not see anyone recommending this practice.
After I removed the dead and dying roots, this is what was
left. Be very gentle not to break the healthy roots.
Now I take my clean pot, and clean root orchid and I place a little bit of the soil into the bottom of the pot and hold the plant in place in the pot. I then gently pour the dirt over the top of the plant, tap the pot on the counter to allow the dirt to sift itself through the roots and settle gently, but not too tightly around them. Once that is done I water the plant again, not too much as it has probably already gained enough water for the day from trimming the roots under running water, just enough to help moisten the soil & if any settling occurs, add a little more soil to the top. The plant is now re-potted. Occasionally after a few waters, I will need to add a bit more dirt, but that is ok. 
To me-this plant looks MUCH more
comfortable than it was before.
Now to water, and wait for the next bloom stalk to grow. I will be able to REALLY start my experiment once the new bloom stalk starts to grow. I re-potted 3 orchids yesterday and I can't wait to see how they progress. 


Saturday, July 28, 2012

Dreaming in Color

Changing Colors


Today, continuing my research, I want to find out how, food coloring changes the color of a flower, and if it can be done on a living plant, not just a cut flower. I'm sure most of us did this experiment as children and thought it was cool, or magic. basically: AWESOME!

The basics of it are plants take water into themselves through their veins. Adding color to the water in CUT flowers helps bring the dye up through the stem an into the flower. Light colored flowers tend to take on the color that was added to the water. But can this be done with the whole plant, not just the cuttings?


Just like a cut flower, a plant takes water up through its roots. According to a study done at Bishop Dwenger High School in 2007, potted plants that were watered with colored water took on attributes from the dye in their leaves and stems. Plants that were given dark colored dyes such as blue or black showed more color in their leaves. According to the same study the plants that were treated with red dye slowed the growth or killed the plant.


So, I'm a little concerned that by trying this I may kill the plants...I DID buy them on deep mark down, though, for this purpose, so I guess I'll do it! Honestly all the info above came from ehow or about.com web posts...Not the MOST educational things out there. But its about all I found by googling (is googling a real word yet?) "food coloring to change flower color" and most posts concerned cut flowers not the whole plant.


Today I will leave you with a few pictures of MY orchids. My next post, I guess, I will start the process with my experiment. Tomorrow, Re-potting plants purchased at the store...the way I do it. :)


 Yellow flower is a close up of my Oncidium Orchid.
Peach, pink, yellow/pink & B&W flowes are all Plalaenopsis Orchids.


Friday, July 27, 2012

I'm Blue...Da Ba Dee Da Ba Die

True Blue
In my research on the "real" blue orchid I have found that the blue orchid is in fact an endangered species, due to the destruction of their natural growing environment. This of course saddens me, and now in my endeavor to make a fake blue orchid. I would also like a chance to help save the blue orchid.

The following website is centered on the blue orchid. The tips they give are very similar to what I do in my own home. http://www.ehow.com/how_2331187_grow-blue-orchids.html I will provide a shortened version here:
Step 1- Chose the correct pot...
Step 2- Chose the correct medium (dirt/soil)
Step 3- Provide appropriate light
Step 4- Feed them every 2 weeks
Step 5- Water
Step 6- Re-pot
Now here's what I do differently than their steps...
In step 1, choosing the correct pot, with my first orchid, I got what was called an "orchid pot" it was a tall, glazed pot with NO drain hole in the bottom. It was also glazed inside and out, making it a smooth surface on the inside. Now it is important to be sure not to water them too much or too often in a pot like this. Standing water will promote root rot. 

I do not do step 4 "feed them every 2 weeks" I will admit that I do not have the best discipline when it comes to remembering things like that, so I pot my orchids in Miracle Grow Orchid Mix. It feeds for 6 months and I do not have to remember to fertilize regularly. And, as in step 2 "select the proper medium" this mix is already perfect for the orchids. Also, because of the Miracle Grow soil, I tend to re-pot every 6-8 months, so they still get the proper fertilization.
When I re-pot I also trim off any roots that are rotten looking, or longer than 6-8 inches--now I've read plenty today about not trimming the healthy roots-and I don't go crazy-but my plants don't seem to mind. Also-I don't trim the healthy roots EVERY time I re-pot. So if you are not comfortable with trimming the healthy roots, just concentrate on the yucky ones. But an important part in trimming is be sure to use a CLEAN SHARP EDGE. you do not want to introduce bacteria into your orchid.

Healthy Roots = Healthy Plants.


Now back to the "real" blue orchids....
The best known wild blue orchids are: 


Acacallis Cyanea
A native to the upper  Amazon Basin.
This  plant can be grown in  conditions similar 
to Phalaenopsis Orchid (the most common  orchid found today)
Cattleya
Native to Costa Rica
Cattleya has thousands upon thousands of
registered hybrids.

Dendrobium
Native to Southeast Asia
These need more light, and more water , and
more fertilizer than the common Phalaenopsis.

Thelymitra Pauciflora
Native to Australia and New Zealand 
Called the Slender Sun Orchid
Vanda Coerulea
Native to Thailand
Can be grown in baskets. 
Flowering is irregular and rare


Beautiful aren't they? Now I wish I had my own! Preferably the Dendrobium. 
Now I am on a new mission. 

Tomorrow-Why food coloring changes the color of a plant! 

Thursday, July 26, 2012

A Plant of a Different Color

Research, Research, Research-It Begins...


Ok, so I want to take the white orchid, and change its bloom's color without harming the plant and costing me an arm and a leg.
There is a such thing as a real, blue flowering orchid. But my understanding is they are rather rare. The majority of the blue orchids seen in the department stores are not real blue orchids. It even says on the tag "...blue orchid's current stem will open to flowers in a beautiful lighter shade of blue. A new stem will probably bring white flowers"


So, if they re-bloom white, what do they do to make them blue? Well, according to their lovely vagueness on their website, we don't really know what they do.


"How is Blue Mystique made?
The Blue Mystique blue orchid is not painted, and it's not hybridized. It is the result of a patented process that infuses white orchids with a special medium. This technique has been perfected after many years of research and testing, using naturally derived elements and remaining environmentally conscious."    http://www.homesteadgardens.com/departments/departments/blue-mystique-orchid/ 
I am not trying to knock this company and what they do. Their orchids are beautiful. BUT I am forever trying to find ways to save money. I make my own laundry soap for goodness sake, because it is so much cheaper.  And, since my lovely hubby basically said I could have more orchids if I posted about this from an experimental point of view, how could I pass it up?


I found a website on blue orchids that stated "During the growth process, the stalk of a white phalaenopsis orchid is injected with a blue dye solution. The intervention is performed in an environment that keeps the infection risk for the plant at a minimum. The blue color is absorbed by the orchid and creates a blue flower." http://blueorchid.org/the-mystique-of-the-blue-phal.html


Tomorrow-I will touch on the real blue orchid, and then later we will delve into the question of what to do, to basically to attempt to make my own Blue Mystic...

Wednesday, July 25, 2012

Beginning the Process

Finding the right subject:

So yesterday I scored a pretty sweet deal. I had promised my hubby that I wouldn't spend more than $10 on an orchid plant that I was going to experiment on. Really, why pay more if I might kill it right? 
So I hit all my local stores on the search of an orchid plant with white flowers.

The local Kroger store marks them on sale for $9.99 quite often. This week though, that was not so. Just as I was about to leave the store, I saw a row of orchid plants on the florists desk. Many were going into dormancy, their flowers having started to fall off or fallen off completely. I stepped over to the desk and started chatting with the florist. She's a nice lady. I've chatted with her numerous times before. I told her my plan on experimenting with changing the color of the flower on the plants. She told me that since these were going dormant, she would sell them for $5.00 a plant. I picked out 2. One still had some white flowers on it & the other, I am guessing is either white, or a light yellow, because it had one very dried up flower clinging to it. She reached over and grabbed her price gun, marked them $5.00 each for me and I went home the happy owner of 2 more orchids. 

AND I stayed inside my budget too! 

So here they are. My 2 subjects for my experiment, just hanging out in the seat of the car, waiting to go home. Now, since they are entering dormancy, I honestly do not know how long this might take. Sometimes they grow new "bloom stalks" as I call them, rather quickly. Other times, it takes a while. So I ask you to be patient with us and we will figure this out together. 

Tomorrow, I will start on posting my research, if you want to go into this with me :)


This is one of my Oncidium 
Orchid plants in full bloom


Tuesday, July 24, 2012

A WHOLE YEAR? REALLY??

Worst. Blogger. Ever.


Yup! That's me! 
It has been one year & 1 day since my last post! Oh MY!! I thought is was less than that!


Well, Since I last posted I started taking full time college courses in digital design & graphics. Basically that means I play with Photoshop, and In Design, and other software. Take pictures...and learn how to set up advertising layouts. Most of the work is actually fun!


But-the reason I remembered my blog even existed, is thanks to my orchid addiction. I have 9 orchid plants in my kitchen window. 3 Vanilla Orchids. 2 Oncidium Orchids, and 4 Phalaenopsis Orchids.
Somehow, I have a big fat glowing green thumb when it comes to these plants....Don't ask how-I'm not exactly sure. I could just tell you what I do & hope it worked for you!

Now, I've seen these fancy blue orchids in the store for a whopping $35-40 a plant. Upon closer inspection, I feel that these plants are a rip-off. They look like they are white orchids that have been altered. 
I have done little experiments with my children involving food colored water and celery stalks. Or the same, food colored water and a Queen Anne's Lace plant. When placed in the colored water, the bloom on the flower, or leaves on the celery take on the color that was in the water. 

My lovely husband has approved for me to buy yet another orchid plant on the stipulation that I document my attempt at making my own fancy blue colored orchid. 


So Starting tonight I will try to do at LEAST a weekly post concerning my little experiment to let you all know how things are going!